Introduction
Projection: Projection is defined as an Image or drawing of the object made on a plane. The lines form the object to the Plane are called projectors.
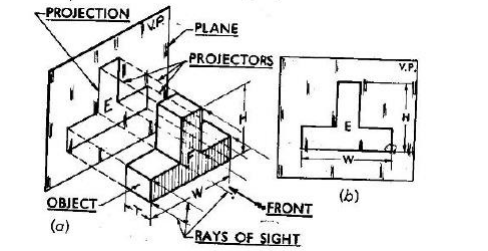
Methods of Projections: In Engineering drawing the following four methods of Projection are
commonly used they are
· Orthographic Projection
· Isometric projection
· Oblique projection
· Perspective Projection
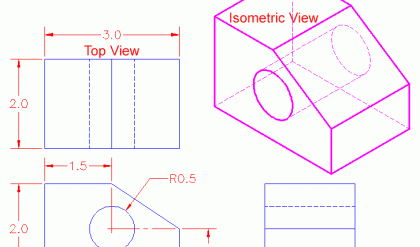
In orthographic projection an object is represented by two are three views on the mutual
perpendicular projection planes each projection view represents two dimensions of an object.
In iso, oblique and perspective projections represents the object by a pictorial view as eyes see
it. In these methods of projects in three dimensional object is represented on a projection plane
by one view only.
Orthographic Projection
When the Projectors are parallel to each other and also perpendicular to the plane the projection
is called orthographic Projection .
Example: Orthographic projection of a car shown in below figure
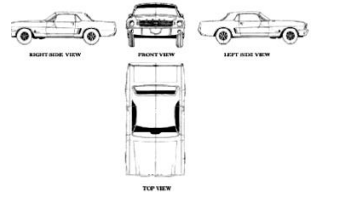
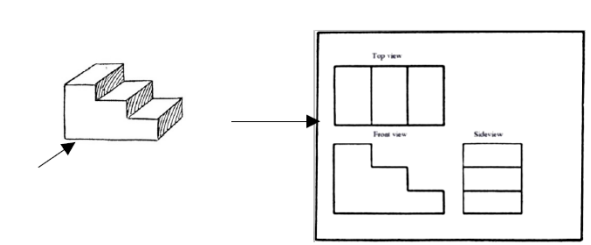
Orthographic Projection is a way of drawing an 3D object from different directions.
Usually a front, side and plan view is drawn so that a person looking at the drawing can
see all the important sides. Orthographic drawings are useful especially when a design has
been developed to a stage where by it is almost ready to manufacture.
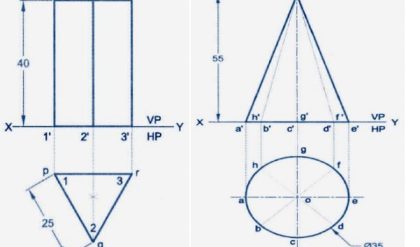
Plane of projection: Two planes employed for the purpose of orthographic projections
are called reference planes or planes of projection. They are intersecting each other at right
angle to each other the vertical plane of projection is usually denoted by the letters VP and
the other Plane is horizontal plane of Projection is denoted by HP. The line in which they
intersect is termed as the reference line and is denoted by the letters XY.
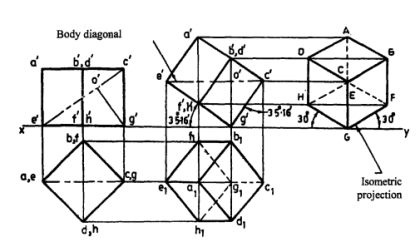
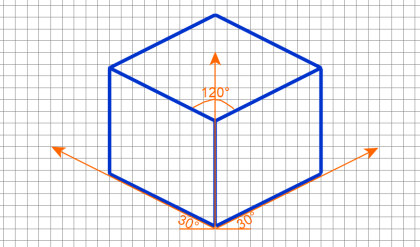
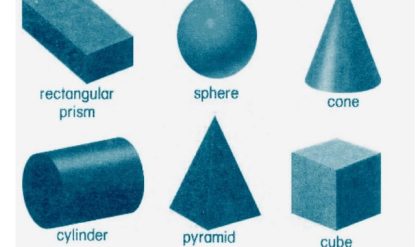

Comments are closed.