Introduction
Any object having definite length, width and height is called a solid. In engineering drawing, solids
are often represented by two or more orthographic views, i.e., FV, TV or SV. The study of the
projections of a solid is very important in mechanical-design problems. The knowledge of
projections of solids is essential in 3D modeling and animation. Projections of solids find wide
applications in the construction industry.
Basic Solids
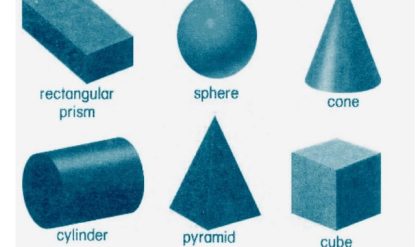
Basic solids are those which have predefined shapes. The basic solids are the constituent parts of
any complex solid. Objects in the real world are made up of combinations of basic solids. In 3D
modeling, the basic solids are called solid primitives. Solid primitives are combined in logical
ways to obtain the desired 3D shape.
System of Notation
1) The actual plane in space is denoted by capital letters A, B, C and D etc.
2) The front view (FV) of a plane is denoted by their corresponding lower-case letters with dashes
as a’, b’, c’ and d’ etc.
3) The top view (TV) of a plane is denoted by their corresponding lower-case letters without
dashes as a, b, c and d etc.
4) The side view (SV) of a plane are denoted by their corresponding lower-case letters with
double dashes as a”, b”, c” and d” etc.
5) Projectors are always drawn as continuous thin lines.
6) Line with specific thickness for a particular type of line.
In Computer Aided Engineering Graphics for projection of solids following commands are used
other than evoking software, opening file, saving file and giving print command. Using these
minimum 13 commands any type of projection of line problem can be solved they are as follows:
1. Select tool Command.
2. Point command.
3. Poly-Line command.
4. Two Point Line command.
5. Parallel line command.
6. Center Circle command
7. Bisector command.
8. Smart Dimension command.
9. Line Width command.
10. Insert Text command.
11. Move Copy command.
12. Rectangle command.
13. Smart Delete Command

Comments are closed.